Congratulations! You just purchased or received your first cutter. It could be that you purchased a Silhouette Cameo, a Cricut, or maybe even a Brother Scan-n-Cut. You tear open that package all excited, get it all setup and join as many craft groups as you can find on Facebook! But wait what is this language they are speaking? HTV, Oracal, transfer tape, transfer paper, weeding, and burnishing. What in the world could this have to do with this new craft tool I purchased? In this episode, I am going to talk about some of the most used materials.
This post may contain affiliate links. This is what helps keep our site free and clutter free. By using one of our links your cost will never change but we may receive a small commission by you shopping thru our link! Thank you!
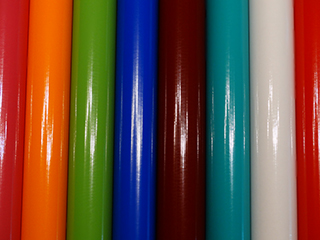
- Oracal is a name you will hear often but what is it. This is actually a brand that is most commonly used for the standard sticky type of vinyl. Orafol is the name of the company that produces this and is the industry standard for professional vinyl users. But what does this mean for a crafter or small business? It means it is a high-quality vinyl that will last long term on your projects. Most commonly you will hear numbers like 651 and 631. Again you wonder what is the difference? 651 is considered outdoor grade vinyl, it comes primarily with a gloss finish that allows it to withstand sun bleaching and weathering. This product is great for use on your car decals, cups, mugs, glasses, signs, or anything that will be handled and used or left outdoors. So that leaves us with 631 what is really left to use it on? For me, its only purpose is walls, furniture, indoor signs, floating frames, things that will not be washed or handled regularly and need to be able to removed without damaging what it is applied to. Other brands of sticky vinyl include 3M, Avery, and even Greenstar these are less popular in the crafting industry but are also great products. I will be writing future blogs with more details of each type of vinyl and their specifications. By clicking on the photo below it will take you to Expressions Vinyl to view their products.
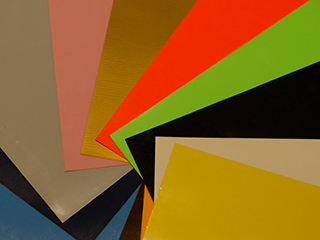
- HTV or Heat transfer vinyl is made to be applied to fabrics of all sorts. The most popular brands are Siser and Thermoflex. Siser easy weed and stretch are my most used products. Siser brand is more iron friendly because of the lower heat requirement and pressure for adherence. Where Thermoflex really requires the use of a heat press to get proper adherence. Thermoflex however, is a much softer feel to it. So now what can we put any HTV on. You are looking at shirts, bags, blankets, chairs, hats, anything made from a material. Now here is the cool part we have experimented with adhering HTV to wood, canvas, and even mugs. We will explore more of this in other tutorials. By clicking on the photo below it will take you to Expressions Vinyl to view their products.
- Transfer tape Vs transfer paper- First what is it even used for? It is to transfer your cut vinyl onto your finished product. Transfer tape is usually a clear material made of a plastic feeling product. This is great for layering vinyl as well as seeing exact placement on a project. Where transfer paper is made of well a paper like material similar to masking tape. This is mostly used for low tack vinyl like 631 or when using the wet method. It allows the water to be pushed out and dry where the transfer tape holds it in. By clicking on the photo below it will take you to Expressions Vinyl to view their products.
![]()
- Weeding? What is this crazy thing? This is the removal of the unwanted vinyl or even paper that you do not want in your project. By weeding out the unwanted items like weeding your garden you are left with the finished artwork.
Start with your design in Silhouette Studio or what ever software you are using. I like to see what it will look like in finished mode so I always fill with color.
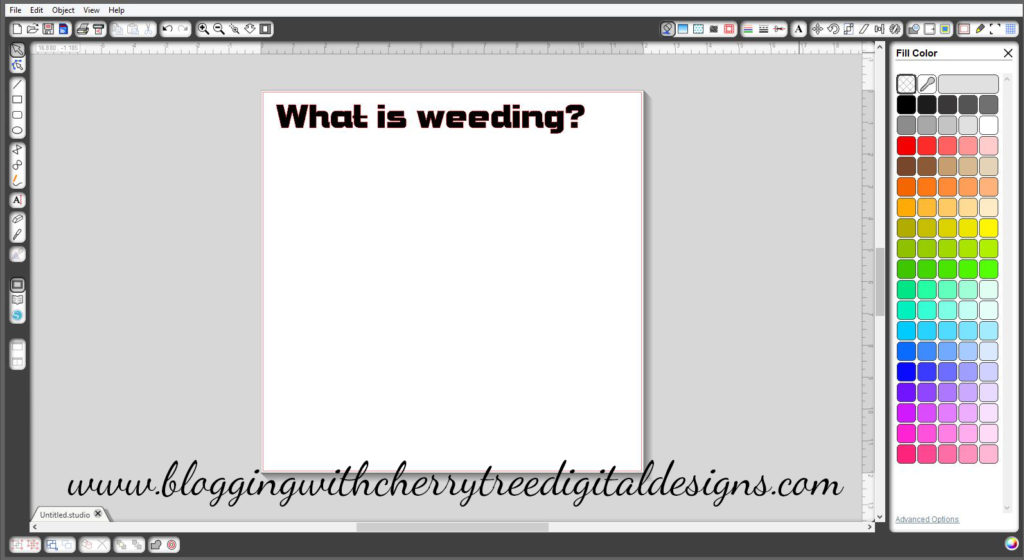
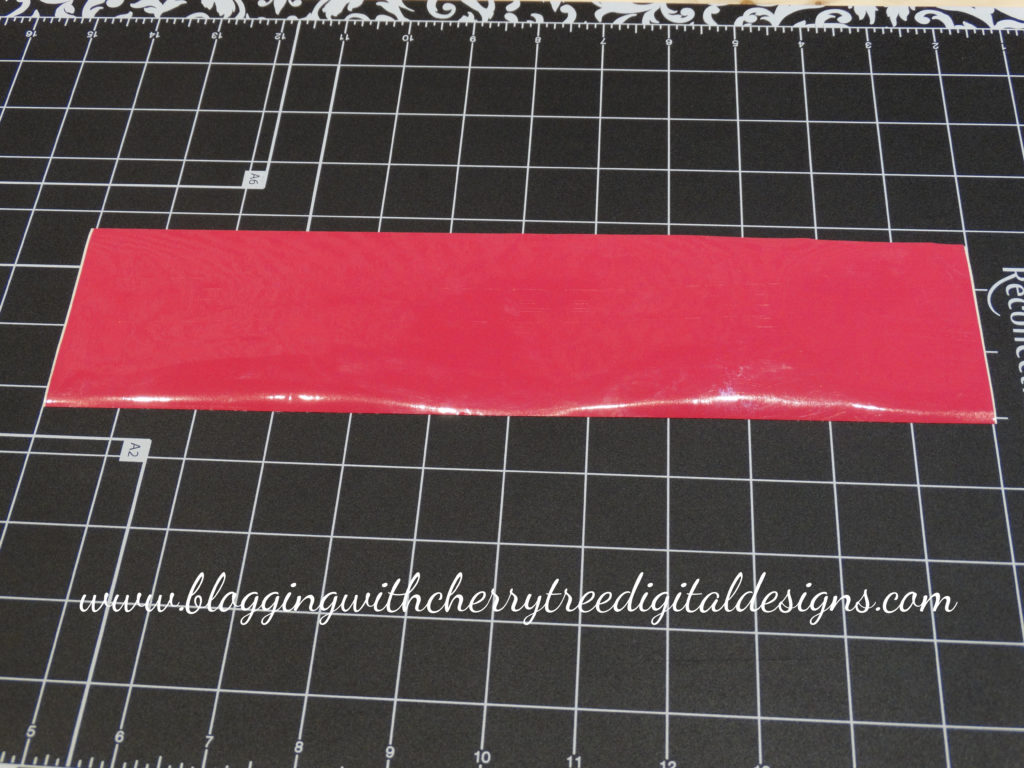
Cut your project out of your vinyl of choice. In this photo, it is impossible to see that this is cut and ready to weed but it is!
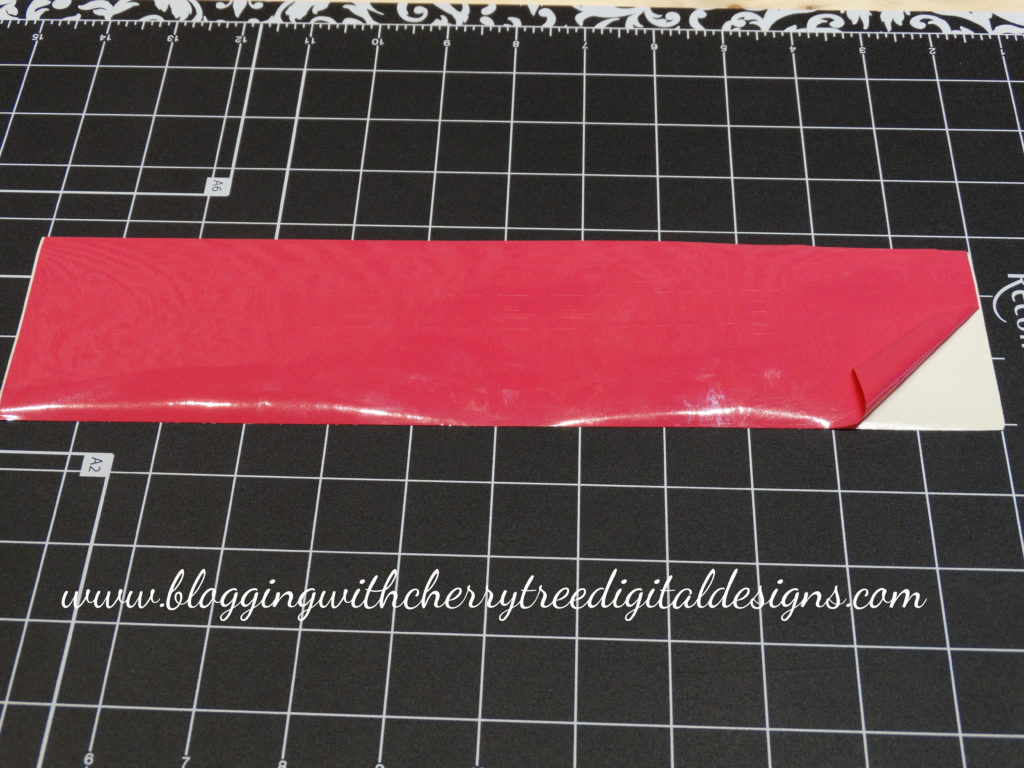
I always start by peeling up a corner and slowly removing it at an angle from there.
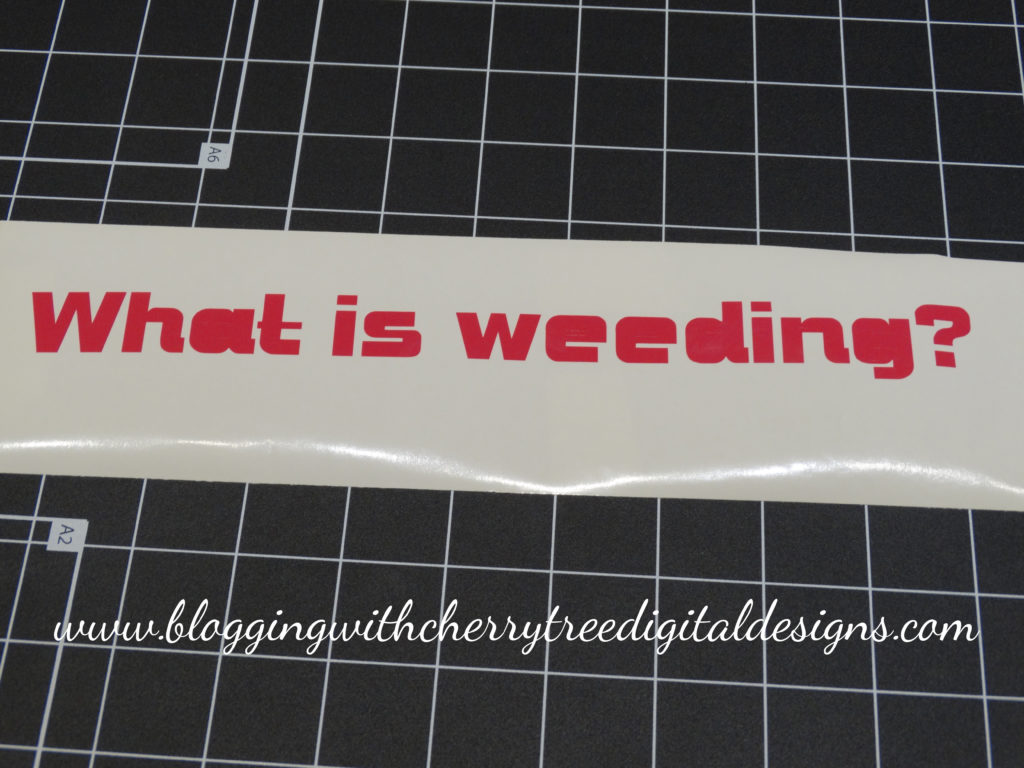
After removing the largest portion of the design you are left with this look. Now you will want to remove the small insides of your letters.
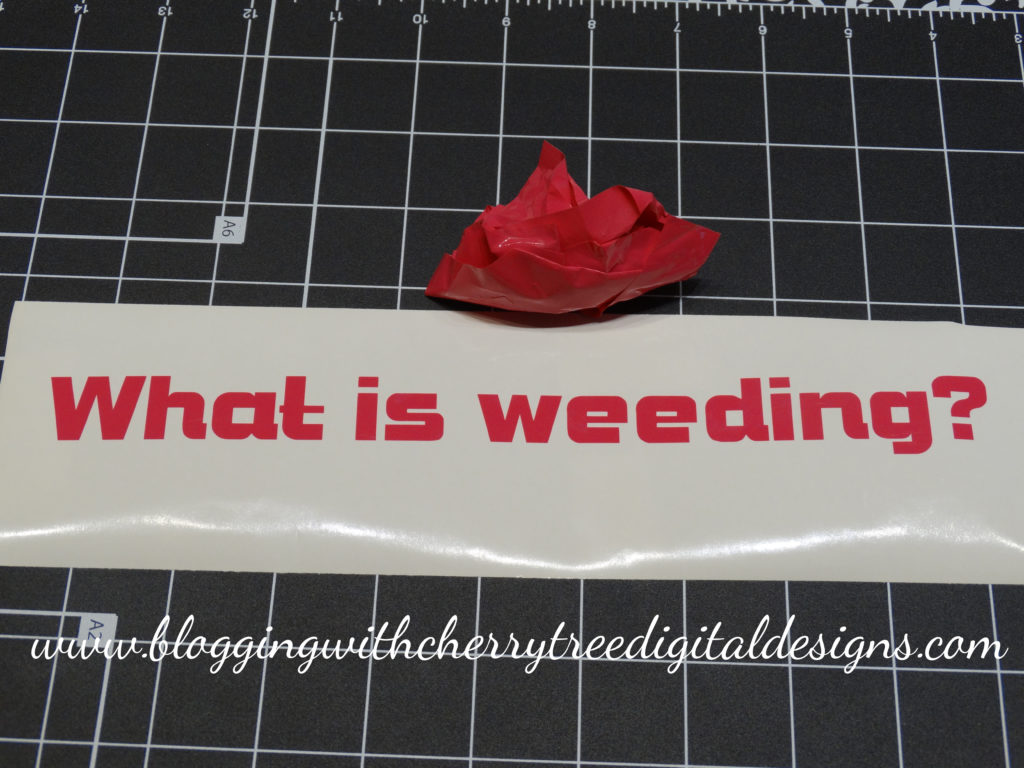
You will be left with your finished design and ready to apply your transfer tape/paper to your project and apply it to your surface.
- This brings us to burnishing. Once you have laid your transfer tape over your design you will want to rub it with a credit card style tool. Something slightly flexible, with a wide base to cover a large area at a time. By rubbing or burnishing the transfer tape onto your design this allows it to adhere to the vinyl allowing the ability to pick up your design to place it on your project. Once placed on its final destination you will again want to burnish the design. This allows the vinyl to adhere to the new surface allowing for the removal of the transfer tape.
great tutorial. The step by step explanation is fabulous thanks for the tutorial.
You are very welcome! I’m glad it helped!