
Calibrating your machine is like laying the foundation for building a house. Without a good foundation your print may lift, have gaps, or completely fail. So the question comes in what is to hard, what is normal, or what is to easy? Your print will answer these question. Do you see flair at the base of your print? Or maybe the first layer of print or the skirt is heavy in one area but lighter in another section? In this tutorial we will go over what you are looking for to help make your printing a success. This post may contain affiliate links. These links support this blog but never costs you anything extra to purchase thru. By using these links this helps us keep all of our information free for your use.
When you begin having print issues (because we all will it’s not an if but a when) the first thing you should check is your calibration. If you have been printing for a while you will begin to see it in your print when things aren’t right and need to be adjusted. However, if you are just starting out you don’t know what a good print looks like. Or what adjustments need to be made based off of what your print is doing. So I have spent the better part of an afternoon messing with my calibration to show you what a good print should look like, what a calibration set to easy will look like, and what it will look like when you have it set to hard. I always suggest using a simple design, and one that came with the machine to help you adjust your calibration. I am using the heart paperclip in my tutorial because it covered a larger area of the platform, with some nice curves. It only takes a little over 5 minutes to print in standard mode and uses very little material. If you will use the same design when calibrating you will be able to tell easier what settings are out of whack.
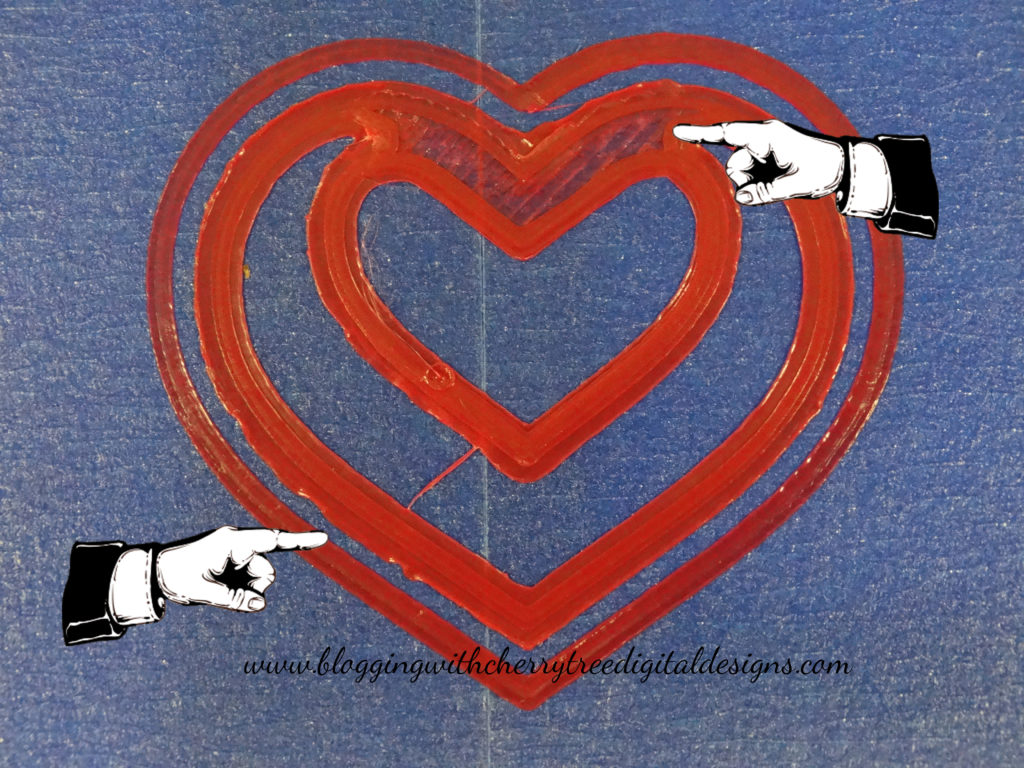
So let’s start with what a good print looks like:
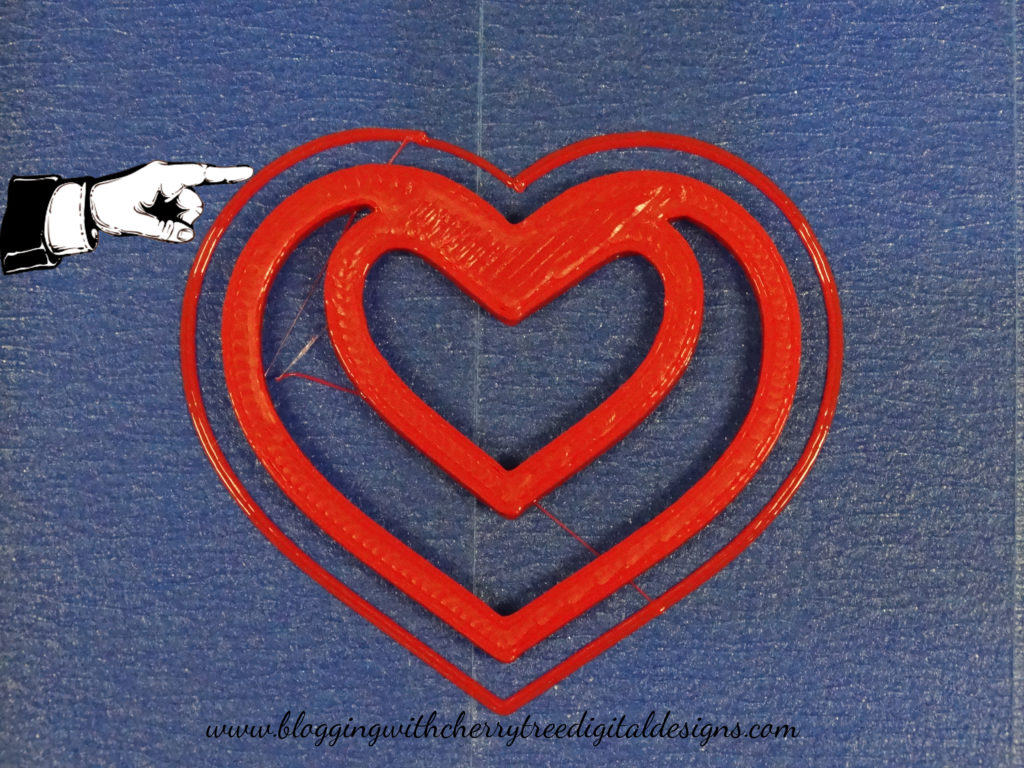
So you ask what exactly are we looking at here? You are wanting to see a nice thin consistent lines of filament. No thin lines, nothing flattened out against the platform. As you continue thru this tutorial you will see the difference in the bad settings.
This setting will make sure that each layer will be as close to each other as possible to prevent any gaps in the side walls.
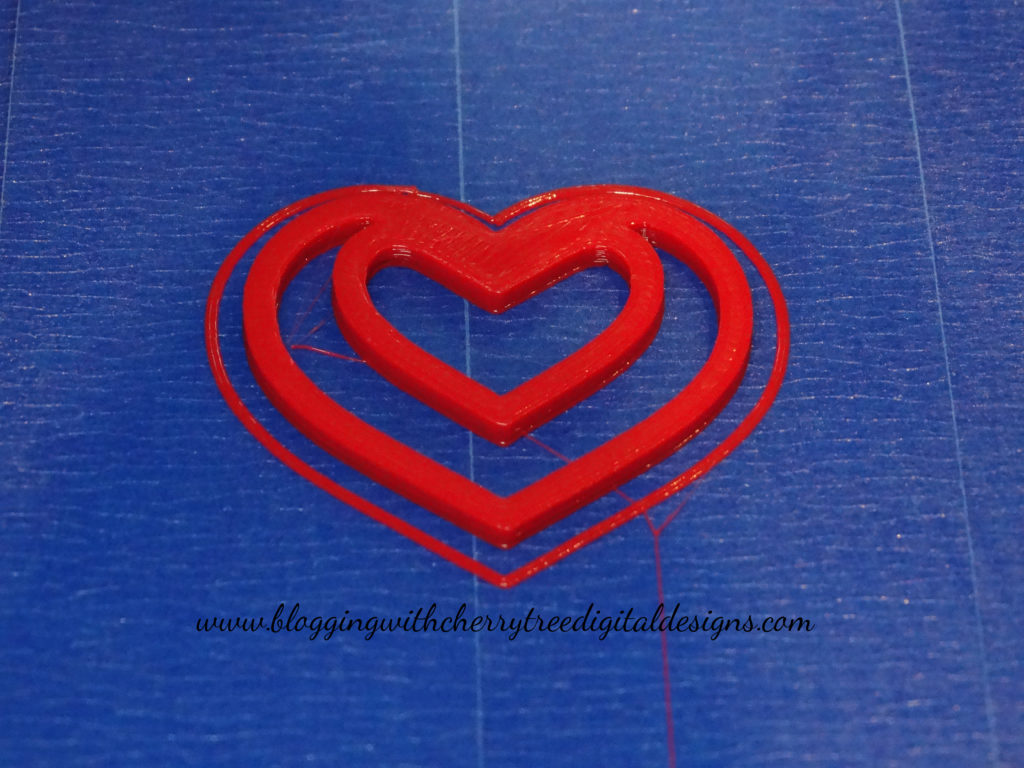
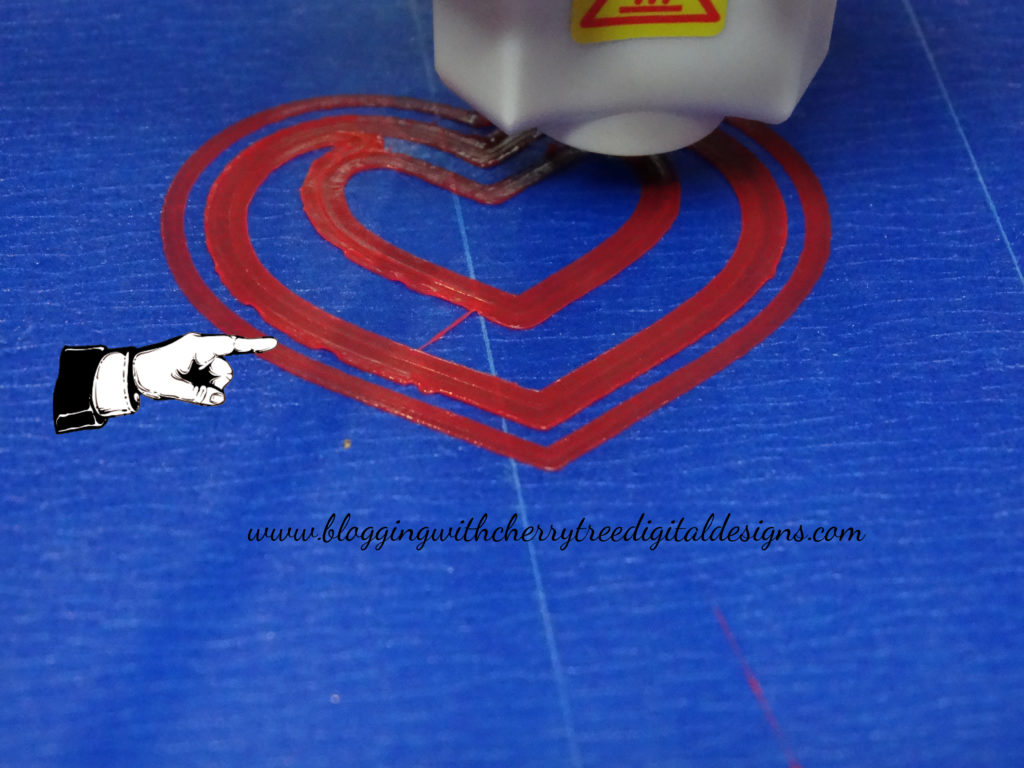
So now you see what you are looking for in a good print. Let’s see what happens when the settings are off. Here is what it looks like when the settings are set to to easy of a setting.
In this print you can see at the top of the design the material being laid down is way to thin in comparison to the rest of the print. This means the print head is to far from the platform and the continued print could fail, or be a poor quality in that area.
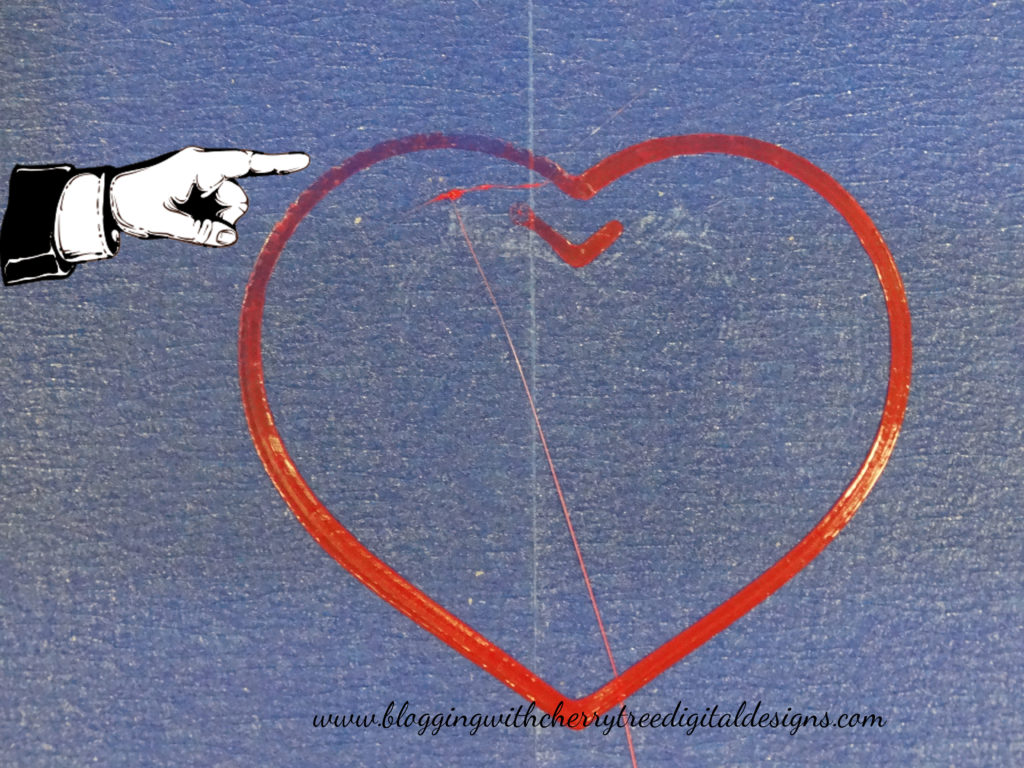
So what does a to hard calibration look like? The opposite of the to easy this is where the print head is to close to the platform and while it is moving it is pressing the printer head into the material and while it is laying down new material it is also pushing the rest of it around and making it flair out.
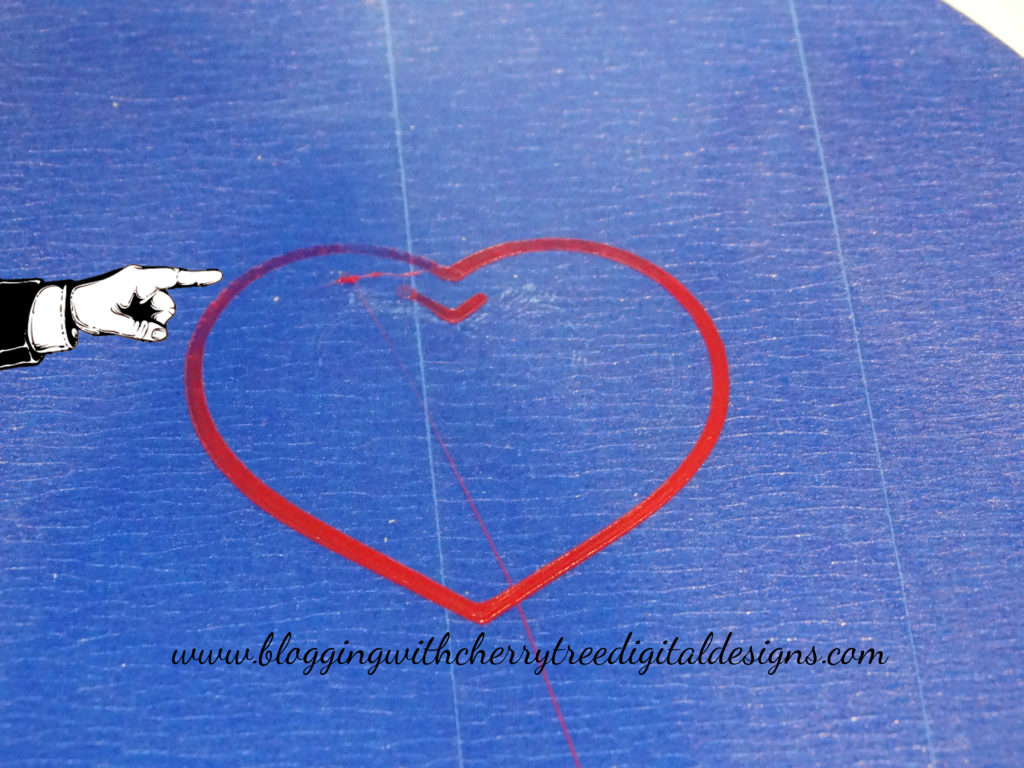
Now compare these photos to the photos above both in the to easy and the good calibration to see the differences. You can see in the photo above on the bottom left the flair out and lifting that is happening. As well as the flatness of the entire print.
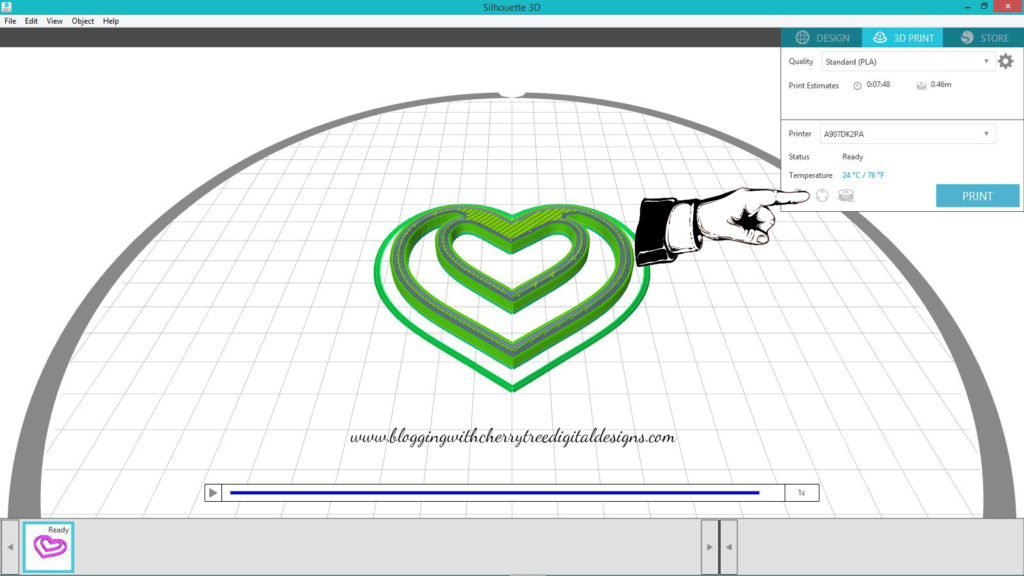
So now that you know what a good and bad print is and what the issue may be you need to calibrate your machine to make your print look like the first photo. So open your software and go to 3D print tab and click on the calibration menu pointed at by the hand in the photo below.
What you will need is a piece of copy paper cut to fit inside the Alta. This is what you will use to adjust your print head. When going thru the calibration testing you will insert the paper under the head of the printer. When it is pushed down on the paper you want to be able to move the paper from under the head. If the settings are set to hard you will have to pull hard to get the paper to be moved. If the setting is set to easy you won’t feel the head of the printer rub on the paper at all. What you are looking or listening for is the sound of the paper rubbing on the print head when moving it back and forth under it. This is one of those things people can tell you all day long what you are feeling for but until you get it dialed in using your actual prints it may be difficult to understand. So I always suggest paying attention to the feel of the paper sliding under the head and the sound that it makes.
Hopefully the above video will help you understand a little more while you are learning the sound and feel. When you go thru the calibration menu and you tell it what the existing settings are at the end of it will tell you what you need to do to dial in your settings.
If your settings are set to easy you will need to use the allen wrench that was included with your machine to adjust the screws on each arm that is holding the print head.
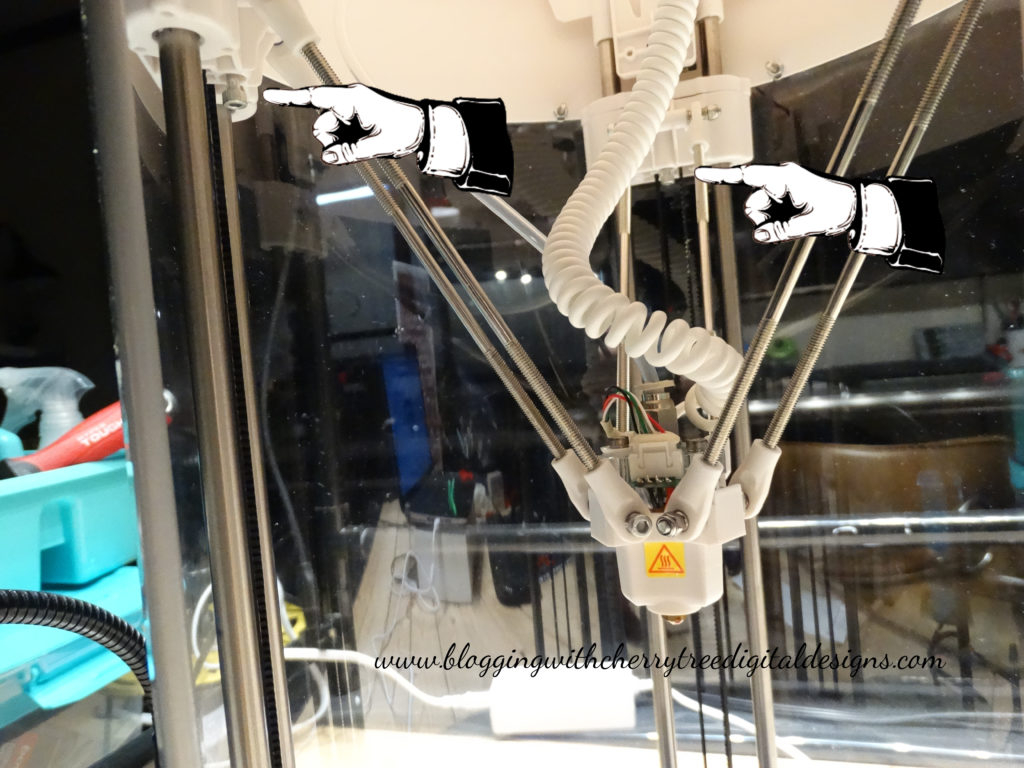
You will need to follow the directions on the screen in the calibration menu based off of what each arm reads. Be it to easy, or to hard. You want to have them all set to normal.
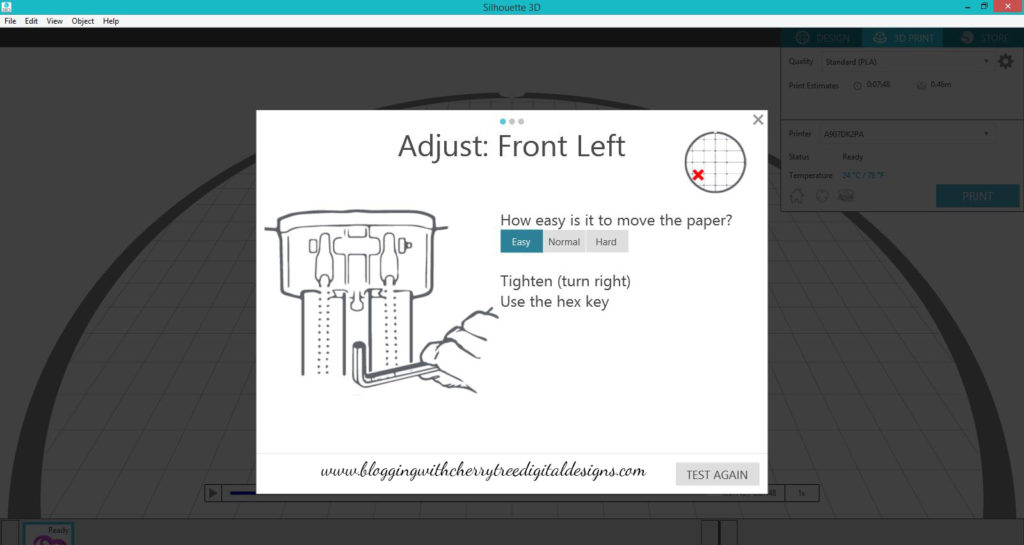
If the calibration is set to easy you will tighten the screw head by turning it to the right.
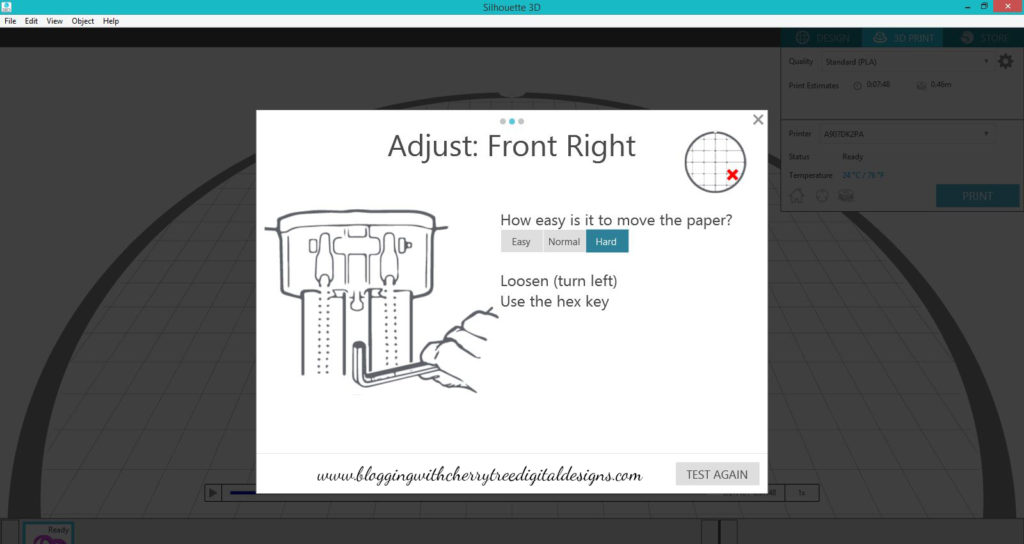
If the calibration is set to hard you will want to adjust that screw by loosening it by turning the screw to the left.
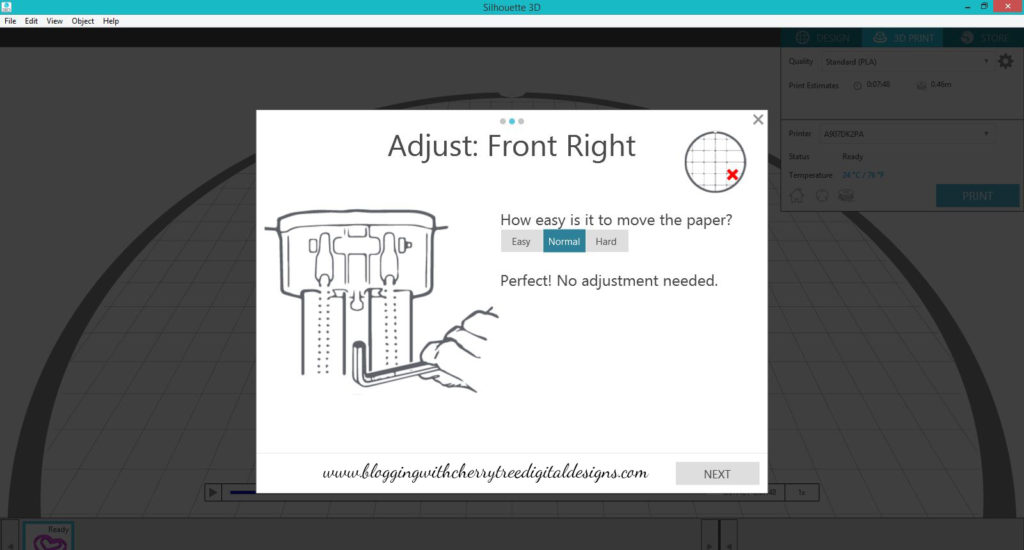
You will do this for all three screws until they are set to normal by using the test again button. Once you tell the machine that specific location you are working on is normal it will move on to the the next location.
After you feel that all three locations are properly calibrated go ahead and run your test print again and compare the outcomes. Paying close attention to the beginning of the print. If you are still not happy with the outcome just rinse and repeat! Dialing in your calibration can take a little bit of time. My first time took me probably 15-20 minutes. Not including print times. So take your time it is well worth the outcome!
Now let’s get to making those pretty prints we all want and share them!