This post may contain affiliate links. These links support this blog but never costs you anything extra to purchase thru. By using these links this helps us keep all of our information free for your use!
Silhouette America has spread their wings and have joined the 3D printing world with the release of the Silhouette Alta! 3D printing is something new coming into the crafting community and opens up a new world of creations. So what can I use the Alta for? How about decorations for parties, trinkets for goodie bags, keychains, figurines, accessories for your cutting or printing machines, to embellishments for your scrapbooking!
So now that I have made you want to take the plunge into the 3D printing world lets show you what you will get when you purchase the Silhouette Alta 3D printer. Taking your machine out of the box you will have everything you need to start printing immediately.
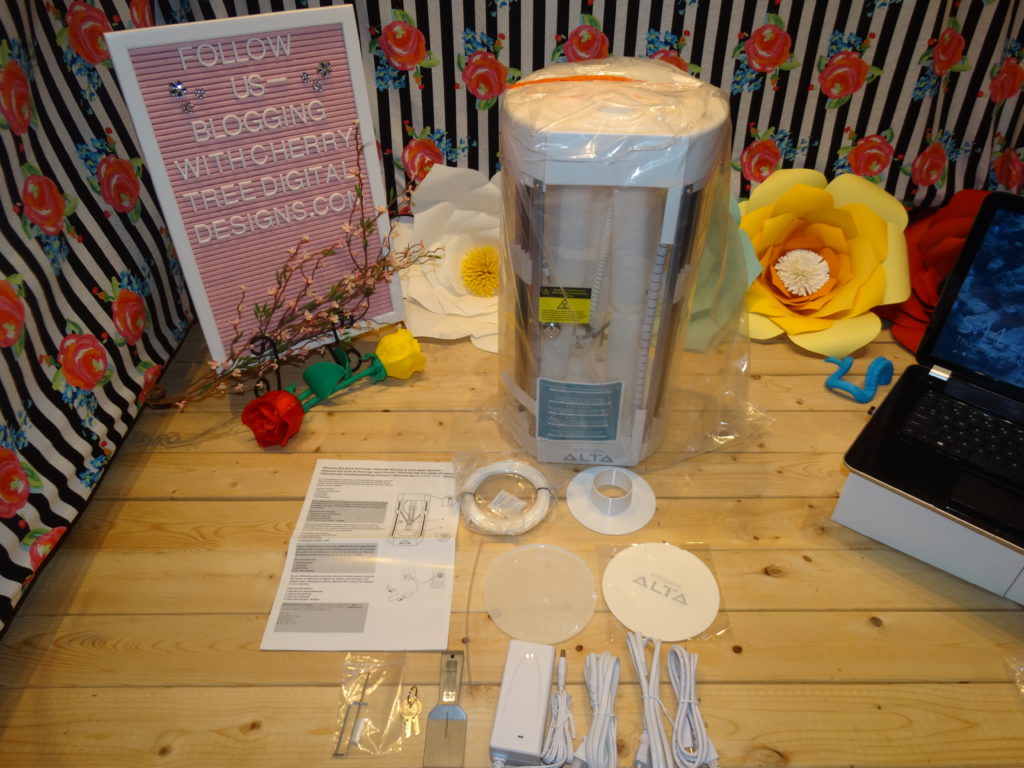
You will get the Silhouette Alta (completely put together unlike some other 3d printers)
An a/c adapter and power cord
USB Cord
A loose roll of white filament
A printed filament spool
A platform or build plate
5 pieces of platform tape
A small and large hex key for making adjustments to your printer
A nozzle cleaner tool
A spatula for removing your finished prints
And Keys to lock your printer to prevent burns and accidents
And a small piece of clear filament tubing (This can easily get missed so please make sure to locate yours)
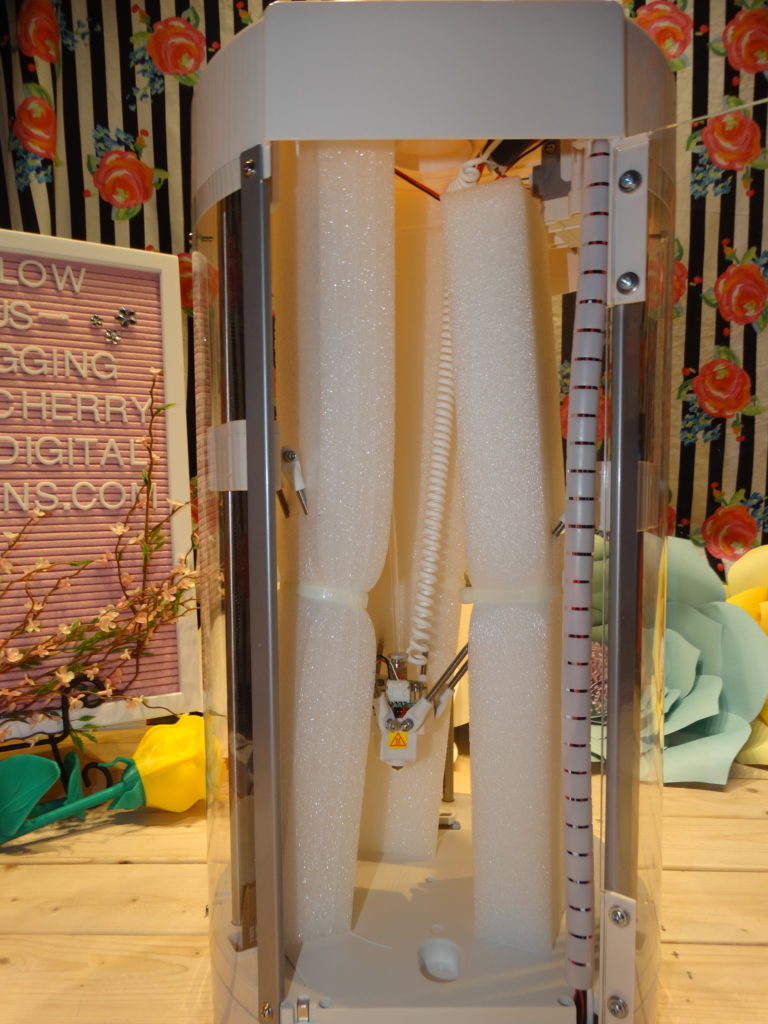
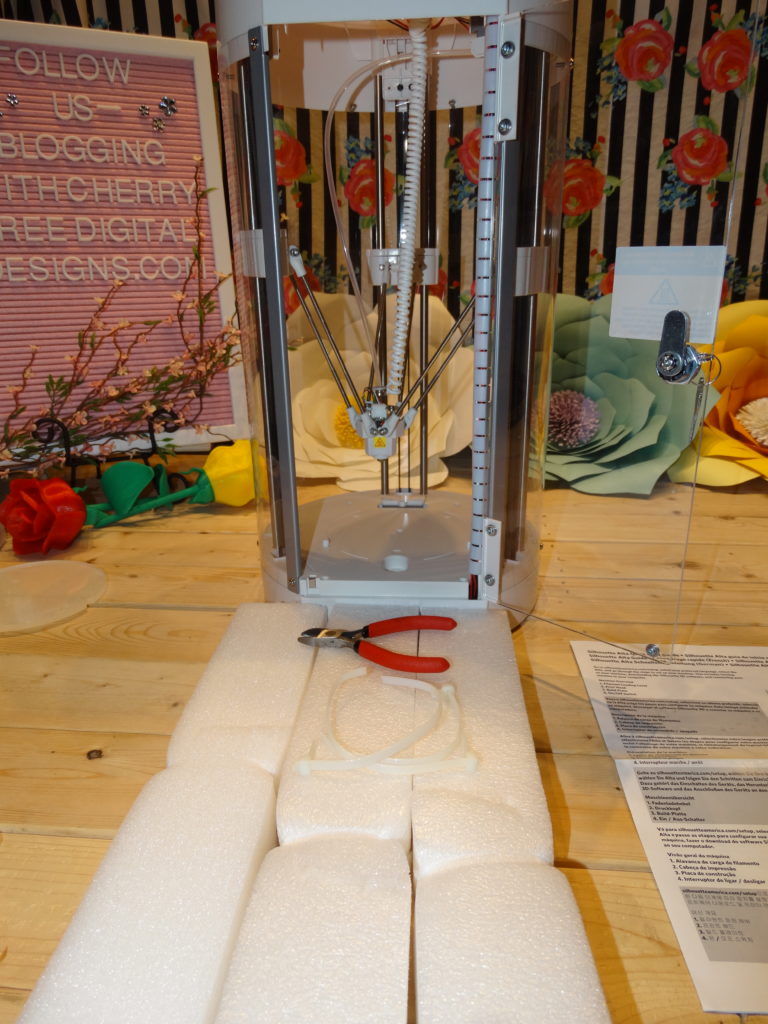
Once you have located all of the components for your machine, remove the plastic bag the printer is shipped in. Unlock your door to the printer and you will see 3 pieces of foam holding the arms of your printer in place. This protects your components from moving around during shipment. I found the easiest way to remove the wire ties were to carefully cut them with wire cutters. Cut the plastic ties and carefully remove the foam wrappings from each arm.
Now it is time to get your machine plugged into your computer! Attach the power cord, and the USB cord to the machine, plug in your power cord and the USB into your computer and then turn on the machine. Your computer may need to install “New Hardware” allow your computer to do this and follow any directions your computer may have. Once that is completed you are ready to follow the software setups.
www.silhouetteamerica.com/setup
Once on this page choose the Silhouette Alta and follow the steps to Register your machine. After this step their setup will have you follow the steps we have already done above. I find that unpacking your products first is the steps most people take when getting a new toy to play with. Once you have registered your machine, and seen their directions on how to unpack and setup your machine, follow the great directions on how to install your software.
I would suggest getting you a notebook to take notes on settings that work for you and those that don’t but also to print the two manuals I will link for ease of access while learning your machine.
https://www.silhcdn.com/m/d/user-guides/alta-en.pdf
https://www.silhcdn.com/m/d/software-guides/3d-en.pdf
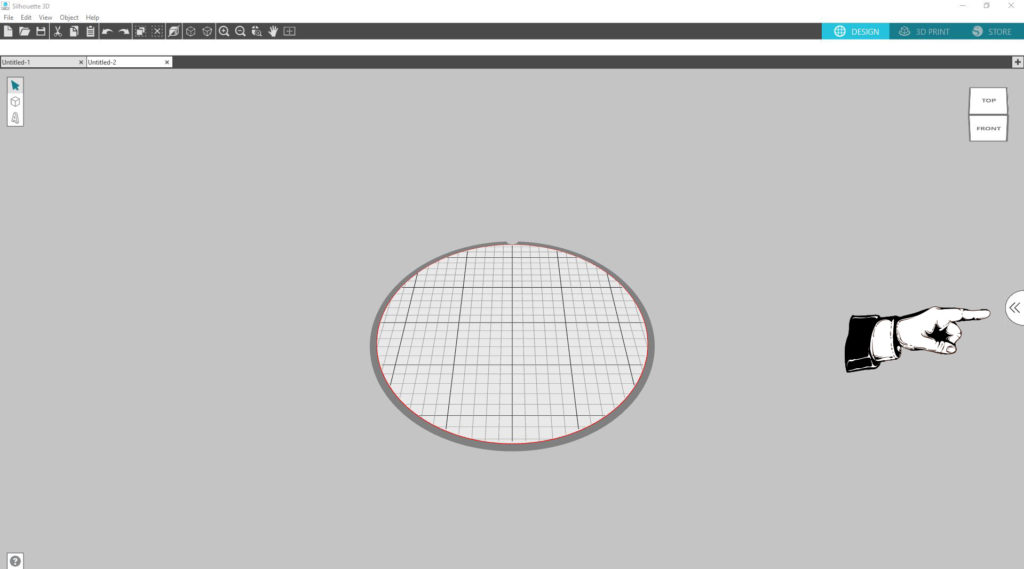
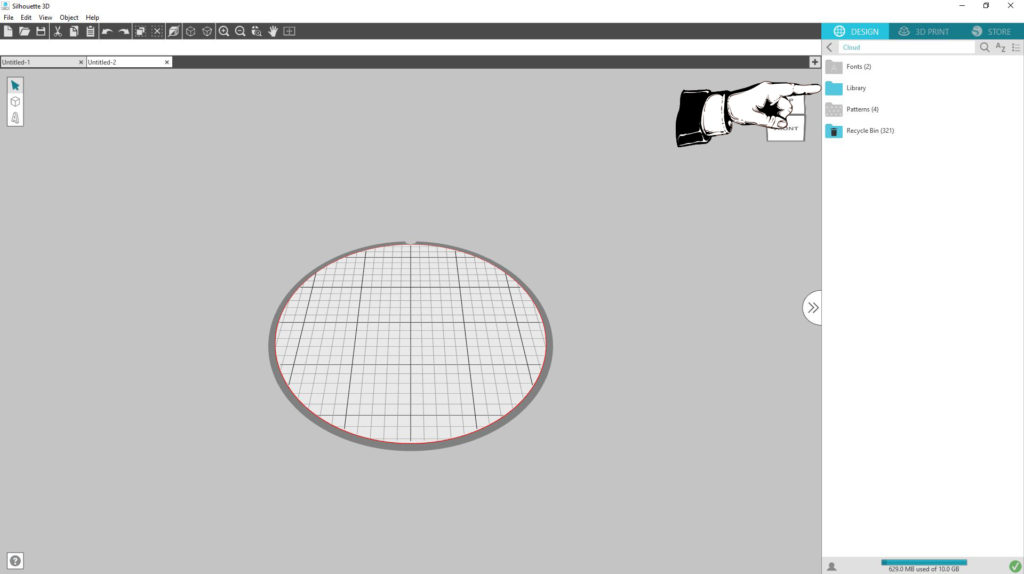
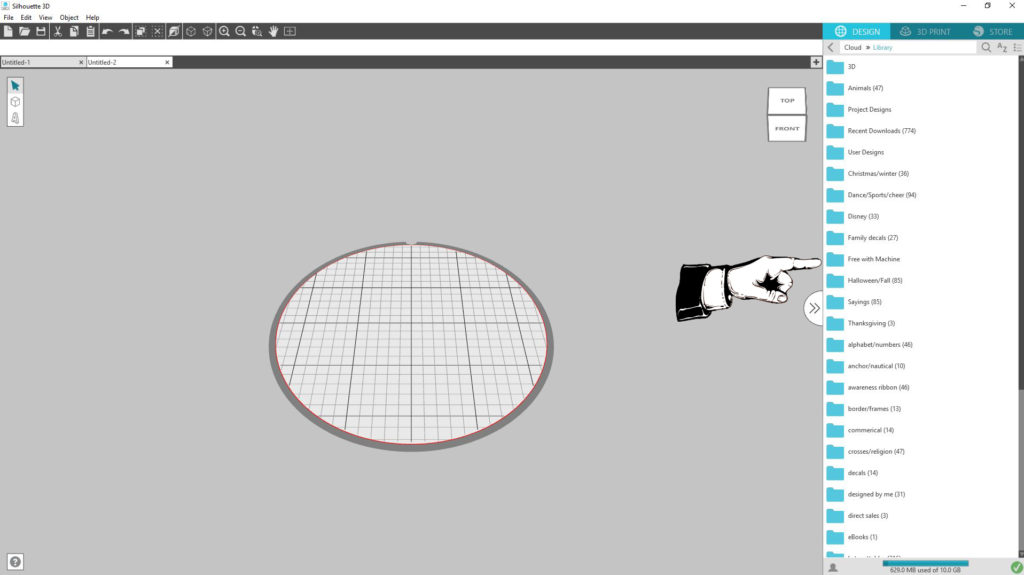
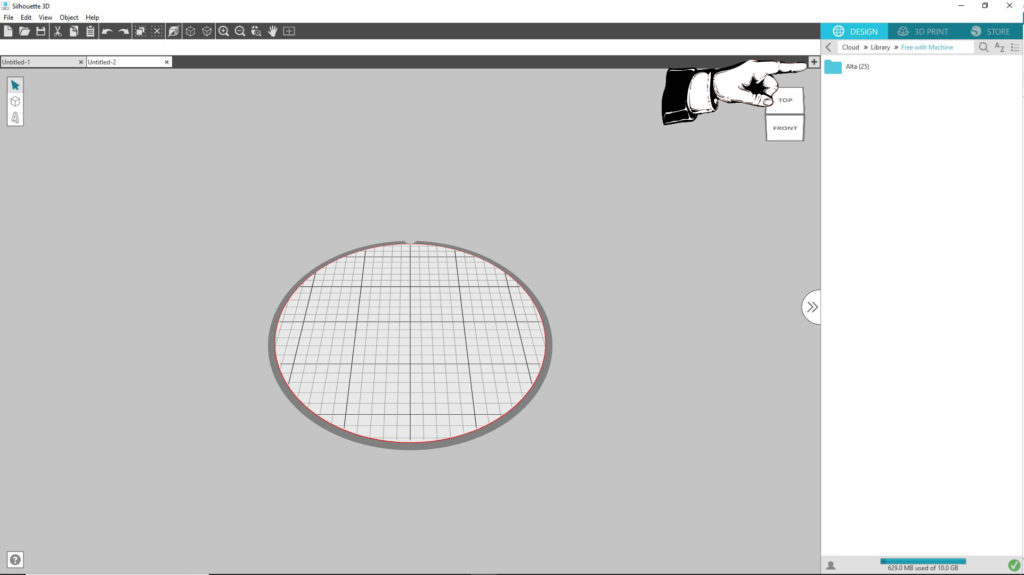
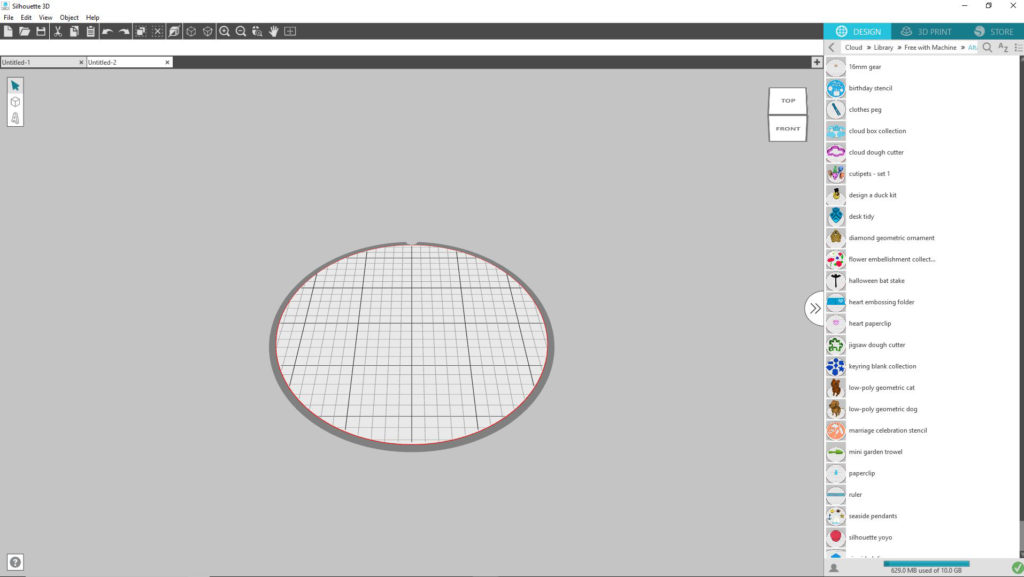
One of the best things is that the software comes with 25 free designs built into your library. Once your software is open make sure you are in the Design tab of the software and click on the arrows on the right hand side of your screen. See the screen shots below:
Also in true Silhouette fashion once you register your machine you will be sent a code by email to get a $25 one month subscription to purchase more designs from the store.
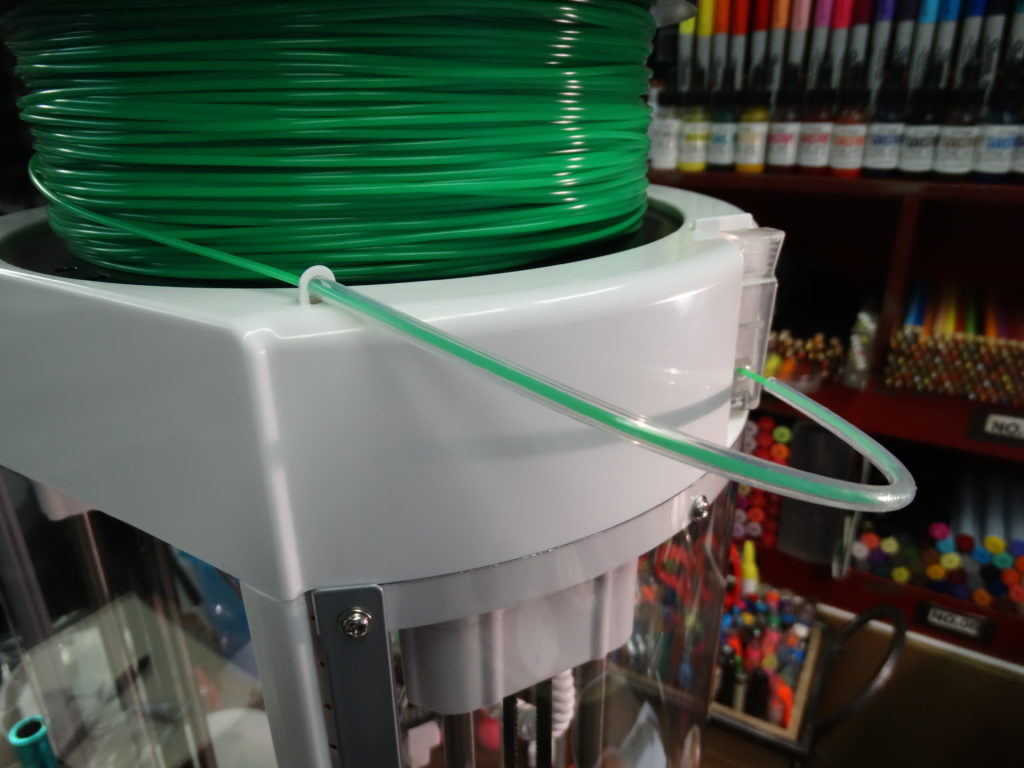
The one thing when setting up my machine I found lacking was what in the world do we do with that clear tube I told you to make sure you located! At no point are we told where it went or what it was for. So when loading your filament this tube goes in between the loop on the top of your machine where your filament goes thru first and holds your filament before it goes into the feed portion of the machine. Please see the photo below.
In future post I will go over how to create files, storage of your filament, and what you can do with what you create!
Make sure to join us on Facebook to get more questions answered and show off your products! Silhouette for Everyone and Everything
And check out more 3D Printing posts here: http://bloggingwithcherrytreedigitaldesigns.com/2018/06/27/silhouette-alta-3d-printer-basics/
Pingback: Silhouette Alta 3D Printer Basics – Blogging With Cherry Tree Digital Designs